 How to take a screenshot that will help to enhance a website is important to understand.
A screenshot is an image taken from the screen of your computer, or laptop.
Rather than taking a photo of your screen with a camera or a mobile phone, you use keys on your computer to capture an image.
The image screenshot can be saved to a file on your computer or laptop. Alternatively, the screenshot can be saved as a Word document. I find this very helpful for short term reference.
Huge volumes of content now being produced on computers or laptops result in a greater need for producing screenshots than ever before.
I recall a few years ago watching a webinar. During this webinar, it was suggested that a screenshot be taken. I had no idea of what they were talking about.
Now, I couldn’t do without my screenshots. Whether I am doing research, authoring business documents, writing articles or whatever I’m producing, screenshots are essential to my work.
In this post, I am sharing the two tools that I use the most for taking screenshots.
The first is Microsoft Paint.
If you have the use of Microsoft Word you will find that Microsoft Paint is installed on your computer.
How to Take a Screenshot with Microsoft Paint
This is a quick and simple way to take a screenshot.
I have taken a screenshot of the Home Page on this website and saved a cropped version to this page. To make this screenshot, I used keys on my computer keyboard, as explained with the following details:
Near the top of your computer keyboard, there is a Print Screen key. See Arrow
At the lower left-hand side of your computer keyboard, you will find the Alt key. See Arrow
To take the screenshot I held down down the Alt key at the same time as holding down the Print Screen key.

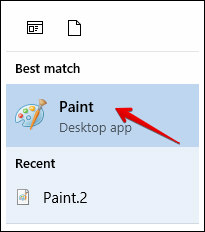
Then in Microsoft Windows Menu I opened Paint…….

….and pasted to the Paint program, the image I had copied. When Paint opens there is a white square in front of you. Paste your image by using Ctrl and the key with the letter V at the same time.

Due to the image being far too large for this demonstration, I used the Paint Crop feature to capture a small part of the image.
For Quick Reference:
You can also paste the screenshot from Paint to Microsoft Word, WordPad or NotePad. Images and/or text content can be saved to a Word document. Saving the Word documents, as usual, is fine although I use this method for content I will be deleting at the completion of a one-day project.
The Second and Most Favorite Tool I use is Monosnap for Windows
I became aware of Monosnap about a year ago and use it frequently for taking screenshots. Many features are included in Monosnap and they are extremely simple to use.

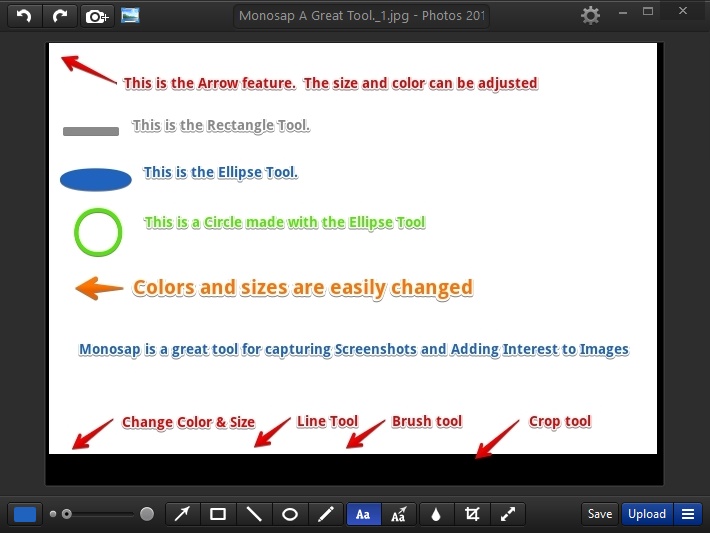
This is a screenshot of a portion of the Home Page of this website. The tools you can see at the foot of the page are those you would use to achieve results you require from Monosnap for Windows.

This image is a screenshot of Monosnap showing how easy it is to enter the text as I did to produce this image.
Not only is Monosnap efficient and fun to work with, it is also a Free tool which makes it all the more appealing.
To use Monosnap, go to their website where you can download the tool to your computer or laptop.
Monosnap is also available for use with Mac computers and laptops.
I hope you find this information helpful. I feel sure you will find Monosnap fun to work with.
